Hanging Pictures on Drywall: How To Do It Like a Pro
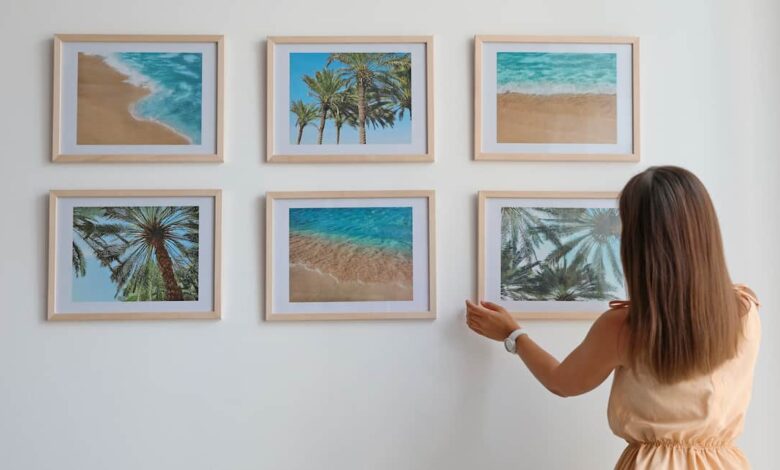
When moving into a new place, a few important activities become top priorities. It’s about more than settling in, you also want to put your personal stamp on your new home. The easiest way to do this is by hanging pictures, but how do you do it without damaging your drywall?
From finding the perfect location to selecting the right tools for the job, here are some of the best ways to hang pictures on drywall.
In this article:
Hanging pictures using a stud
The first step for hanging pictures on drywall is finding a stud. I’m talking about the beams in your walls, not your next significant other. Studs are the true support within your walls, the solid material behind the weaker drywall.
Using a stud to anchor whatever hardware you use to hang pictures means they’re more securely attached to the wall. A nail driven into a stud isn’t going anywhere. It also means you can safely hang heavier items without worrying about them falling down, taking a huge chunk of drywall with them.

Finding the stud
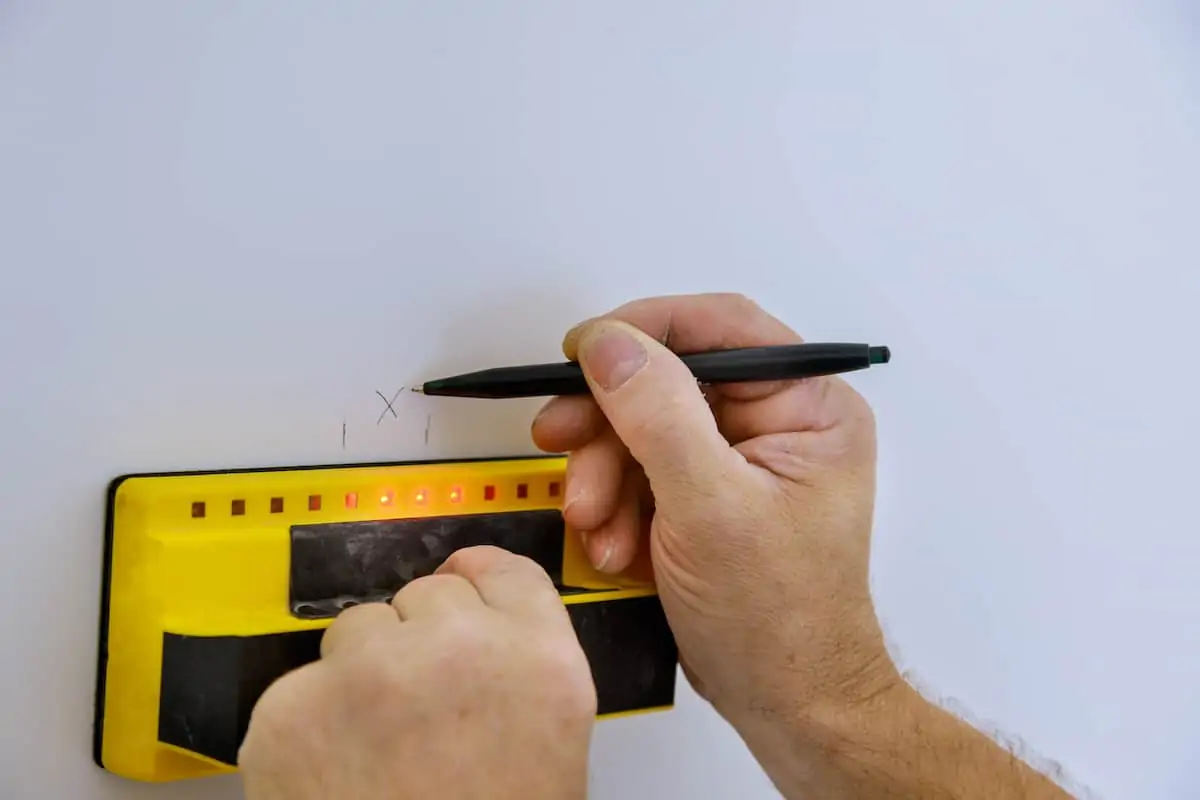
The ideal tool for locating the studs in your walls is a stud finder. Aptly named, this electronic or magnetic device will beep or signal you in some way when it’s placed over a stud. This method is fast and accurate.
For those less mechanically-included, you can also hear a stud by knocking on the wall. There’s a distinct difference between the sound your fist makes knocking on plain drywall and coming up against a stud in the wall. Listen for a solid sound behind your knock — that’s a stud. A more hollow sound happens when knocking on drywall alone.
When using the knock method, start near a corner of the room and work your way toward the center of the wall.
Hanging pictures without a stud
If you can’t find the studs in your walls or don’t have enough to put up all your pictures, it’s OK to hang something directly from the drywall. It’s a little harder, though, since you don’t have the anchor of the stud.
Without a stud, the weight of what you’re hanging factors into how many holes you’ll need to put into your wall. The heavier the object, the more nails, hooks or any other hanging hardware you’ll need.
You’ll also most likely need to add some kind of anchor along with whatever you’re using to hang the picture. This additional piece of hardware helps recreate the benefits of using a stud. It provides more support for your picture, but often makes a larger hole in the wall. Anchors are also often very difficult to remove from a wall, which can cause problems when your lease is up.
Selecting the right anchor
There are almost as many different types of wall anchors as there are methods for hanging pictures on drywall. When you decide that not everything will have the support of a stud, use an anchor to secure your other pictures.
To pair the right anchor with your wall art, look out for these specific types:
- Conical plastic anchors look almost like a sleek dart and are used for lightweight pictures and smaller pieces of art. They go into pre-made holes in the wall and use a sheet metal screw to expand and anchor into the space.
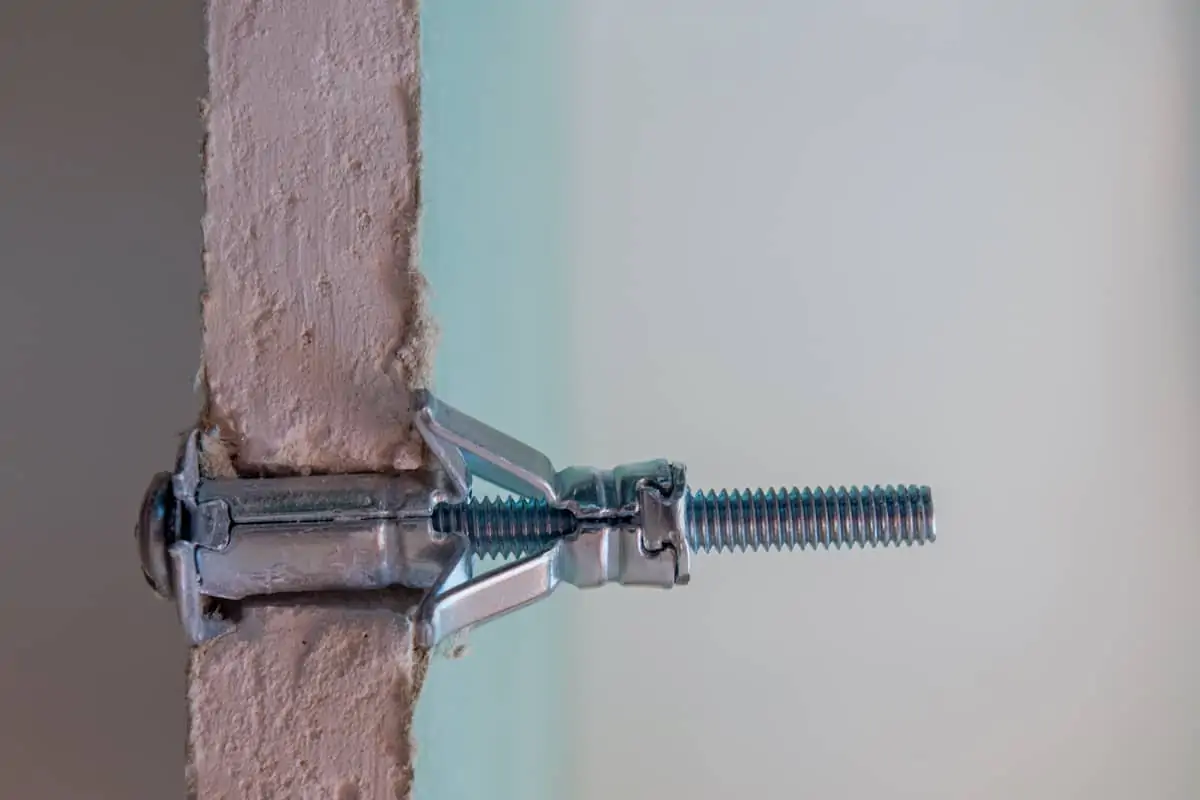
- Winged anchors are particularly useful for heavier objects (around 25 pounds). This type of anchor has “wings” that expand and press against the inside of the drywall, providing extra support and strength.
- Toggle bolts look a little like a boat anchor and are used for hanging items around 50 pounds. It’s like a winged anchor only it tightens up to the backside of the wall to hold heavy items in place. It’s also made of metal rather than plastic.
- Self-drilling anchors look more like a thick, plastic screw. They’re self-starting so you don’t have to make a hole in your wall first. Look for self-drilling anchors made for picture hanging to get the right support.
All anchors, except the self-drilling one, need a hole big enough for the anchor itself drilled through the wall. This may require the inclusion of a small, power drill in your toolbox.
Methods for hanging pictures on drywall
Speaking of tools, no matter what you use to actually hang your pictures on the wall, certain additional items make the whole job easier. Top of the list is a level. It makes sure anything you put up hangs straight when you’re done. You’ll also need a tape measure and a pencil.
The tape measure lets you center images on your wall, or evenly space out a series of pictures. The pencil allows you to mark up your wall without the risk of leaving a permanent mark. Even if you don’t erase the pencil yourself, it will fade and disappear over time on its own.
With these extra tools in tow, it’s time to complete your picture hanging hardware list. First up, deciding what method is best for you when it comes to hanging pictures on drywall.
1. Basic nails
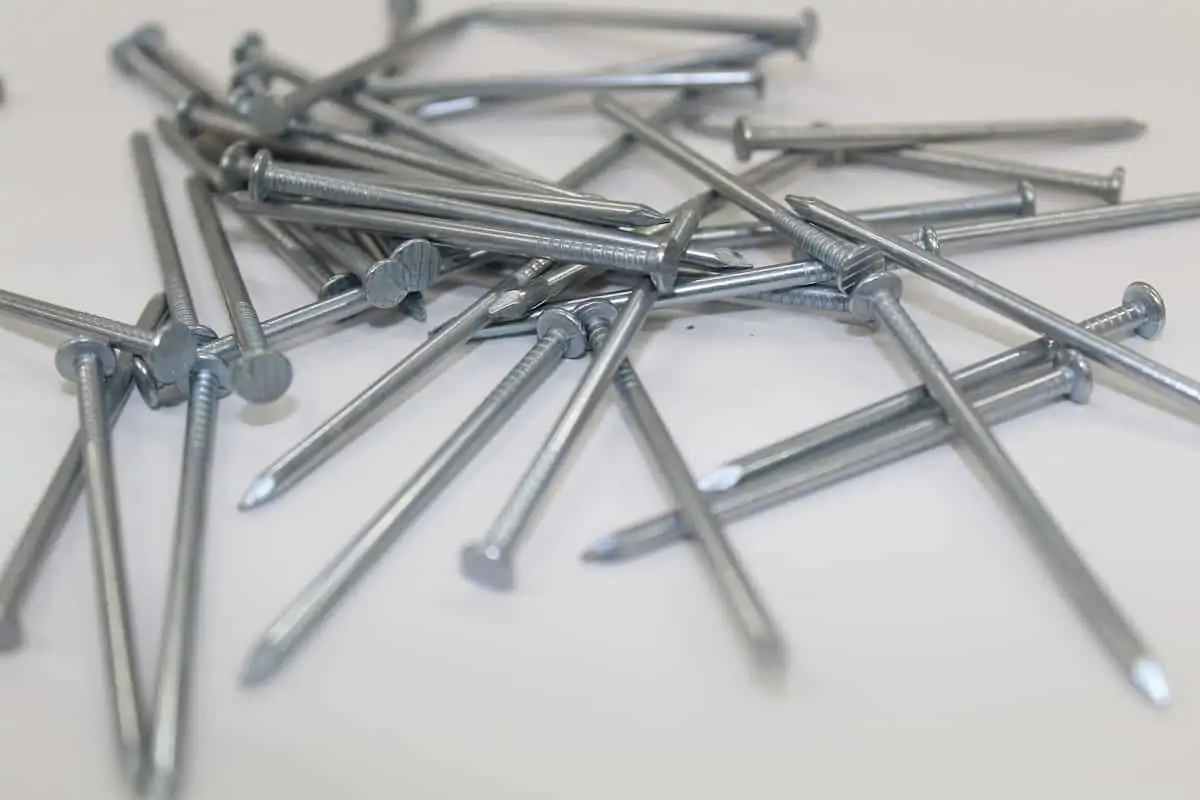

The easiest and fastest way to hang most wall art is with a hammer and nails. They’re ideal for lighter weight pictures. Picking nails of different thicknesses allows you to support wall décor of different sizes, as well.
To use nails, mark each spot on your wall where you want to hang something. Hammer in the nail about 3/4 of the way into the wall. Then, hang your item. If you’re hanging fabric or an unframed piece, and you don’t mind putting small holes in it, you can hammer the picture directly into the wall as well.
The pros and cons of using nails
Pros:
- Nails are easy to locate at the hardware store and come in a variety of lengths
- They let you get pictures up quickly
- You only need one extra tool— a hammer
- Nails make small holes to worry about later
Cons:
- Nails can rust, weakening their ability to hold up a picture
- They work better when you can find a stud to reinforce them
- The slim size of most nails makes it hard for them to support heavier objects safely
- Pictures hung with nails will most likely require the most adjusting to keep them straight
2. Picture hanging hooks
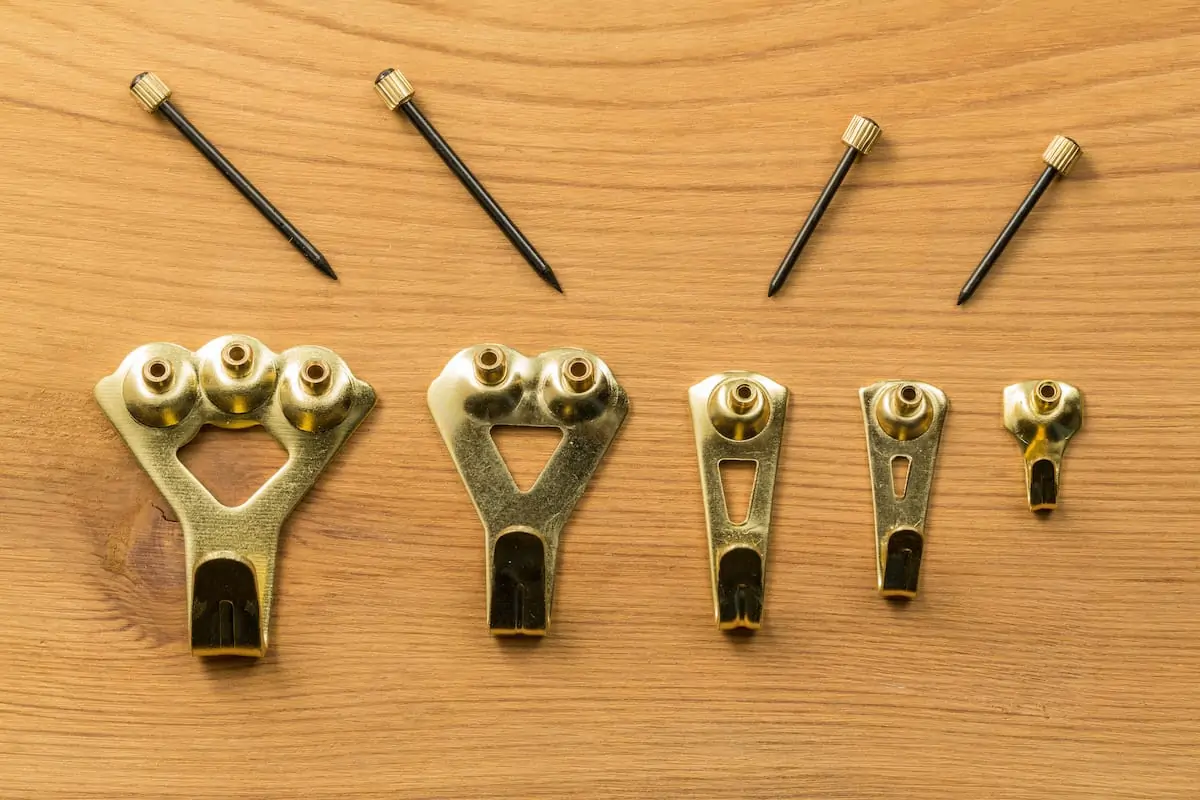

If you decide to purchase a picture hanging hardware kit, you’ll find within it special hook-and-nail combo pieces. This is where you have metal hooks, of varying sizes, with a hole, or holes, at the top. You drive the nail through the hole and into the wall to secure the entire piece.
Having the hook gives you a sturdier connection between the picture and the wall. For this reason, they’ll support slightly heavier objects than using a nail alone. They’ll also make small holes in the wall since you’re still only dealing with nails penetrating the drywall.
Another benefit to these kits is the types of nails included in them. Look for pointed and sharp nails, so when they come out of the wall, all that’s left is a tiny hole.
The pros and cons of using hooks
Pros:
- Hooks and nails both come in a variety of lengths and strengths
- Buying a picture hanging kit gives you everything you need to safely hang your wall art
- Just like with nails, these go up quick and easy with only a hammer
Cons:
- Also made of metal, hooks can warp or rust, decreasing their integrity to support your picture
- Installed too closely against the wall, the hook can shift and leave extra marks behind
- Only able to support mid-to-light weight items, you’ll need to put the hook into a stud to support anything heavy
3. Anchors and screws

As one of the strongest options for hanging pictures in drywall, anchors and screws can reinforce a particularly heavy item anywhere on your wall. They’re also a good option when your wall consists of something other than drywall, like plaster.
The trick is to not assume the hardware that comes with your picture is strong enough. Instead, go to the hardware store for your anchors. They should come with the matching screws in the set so no need to try and size everything out on your own.
Installing an anchor is slightly different than using nails since you’ve got to make the hole before inserting the hardware. Using a drill, create the hole for your anchor and then insert it into the space. Next, drill in the screw, leaving a little space between the two pieces to hang your picture.
The pros and cons of using anchors and screws
Pros:
- Anchors provide a wider balance point than relying on picture wire to drape across a few nails or hooks
- Anchors come in two primary kinds, expanding, which need you to drill a hole, and screw-in, which don’t. Both can support between 10 and 25 pounds.
- They hold more weight than many other hanging options and are great for putting up mirrors, mounting light fixtures or hanging a bulletin board
Cons:
- Installing an anchor and screw is more labor-intensive and a little messier. You’ll get some drywall dust from drilling holes.
- Mismatching your anchor and screw to the weight of your picture can cause issues
- Removing an anchor from the wall can sometimes be a struggle, and it will leave you with a decent-sized hole
4. Monkey Hooks
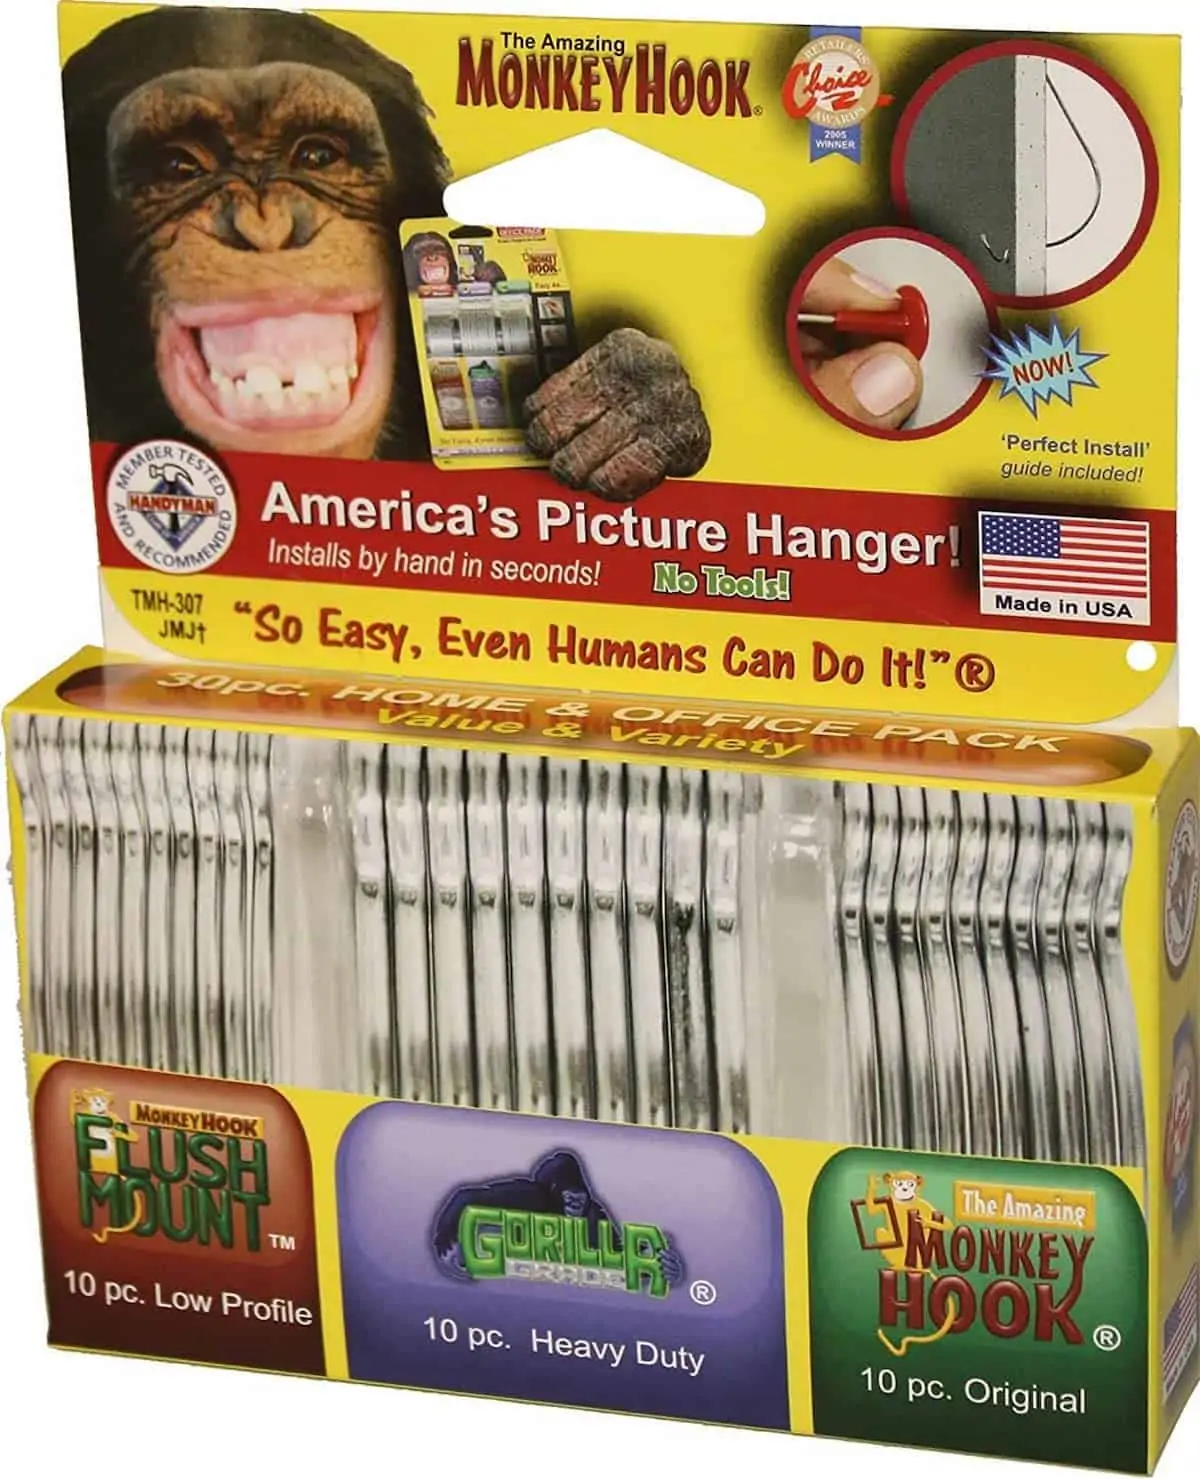

Source: Amazon.com
Monkey Hooks are one of those pieces of picture hanging hardware you’d see in a store and think, how can that possibly work? Consisting of a single, rigid piece of wire, this product can hold up to 50 pounds per hook.
To install Monkey Hooks, you have to insert the wide curve into the wall. All that should hang out of the wall is the small hook. This is where your picture hangs. They’re quick and easy to use and can handle all your heavier pictures without a huge price tag.
When ready to remove them, use a pair of needle-nose pliers to grab the part of the hook sticking out of the wall. Give it a little turn, and the hook should pull out from the wall without any issue.
The pros and cons of using monkey hooks
Pros:
- You don’t need anything to install Monkey hooks, but the hook itself. No hammer or nails.
- They’re specially designed to work in drywall
- Monkey Hooks come in different sizes to account for the varying weights of your hanging items, and they leave a very small hole when removed
Cons:
- These hooks need a lot of space behind the wall to go in all the way. If there are obstructions like pipes or ductwork, you can’t insert the hook.
- Removing Monkey Hooks can prove problematic should any get stuck in your walls
5. Pegboard
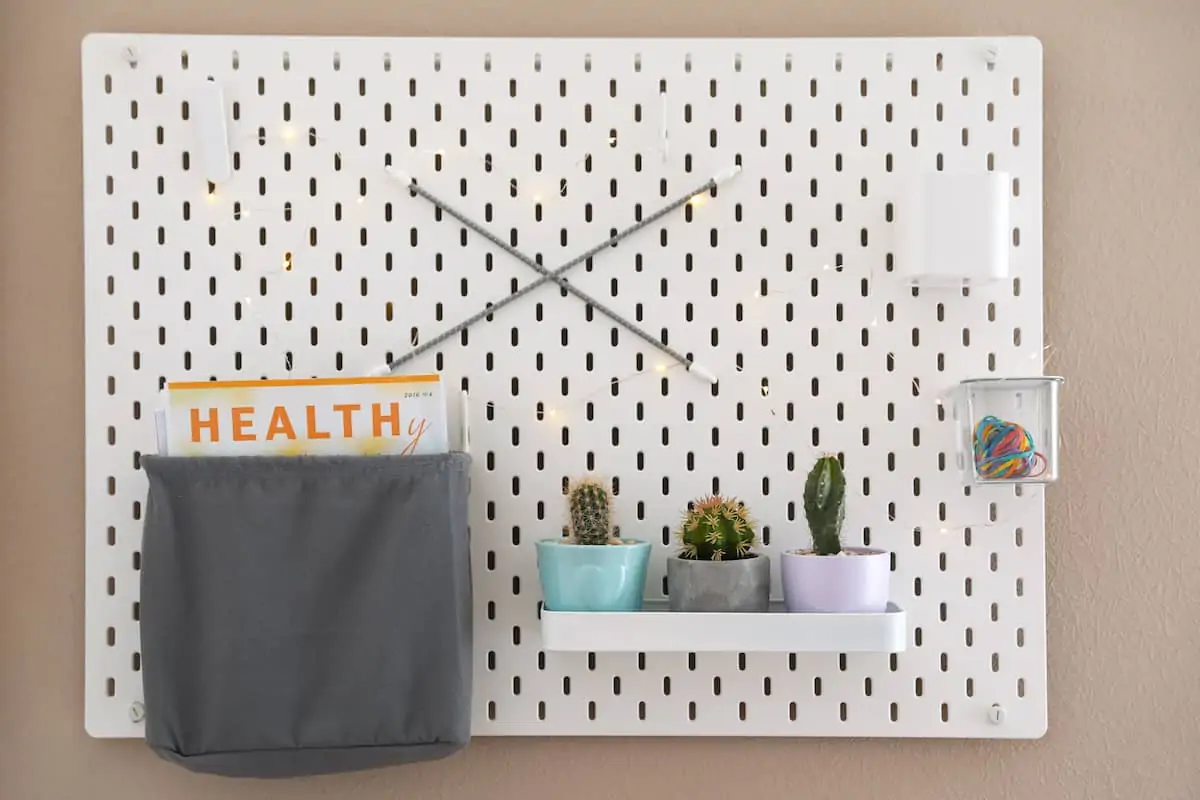

If you’re hoping to end up with fewer holes in your walls, but have a lot you want to hang, consider an alternative to putting up each individual picture. Create a feature wall that’s covered in a pegboard. You can buy squares and assemble them together to make one giant piece. Doing this means you only make holes in the wall to get these initial pieces up.
Since pegboard is already filled with holes, all you’ll need are pegboard hangers to put up anything you want. You’ll also have the flexibility to change the layout of your wall without making any new holes as you move things around.
Pegboard can even support lightweight shelves and small decorative items, enabling you to easily hang a wider variety of art on your walls.
The pros and cons of using pegboard
Pros:
- Pegboard creates a unique feature wall for all your favorite photographs, posters and special pieces
- It allows you to place pictures anywhere along the wall with minimal effort and no extra holes
- Covering your wall in pegboard not only gives you a chance to hang more, but you can paint it, giving your space a pop of color that’s easy to take down when it’s time to move
Cons:
- Pegboard is heavy enough that it must get installed into studs within the walls
- Mounting pegboard requires the use of screws, which can leave larger holes when removed
- Empty spots on the pegboard leave you looking at a bunch of tiny holes, which can feel unsightly
6. Adhesive strips
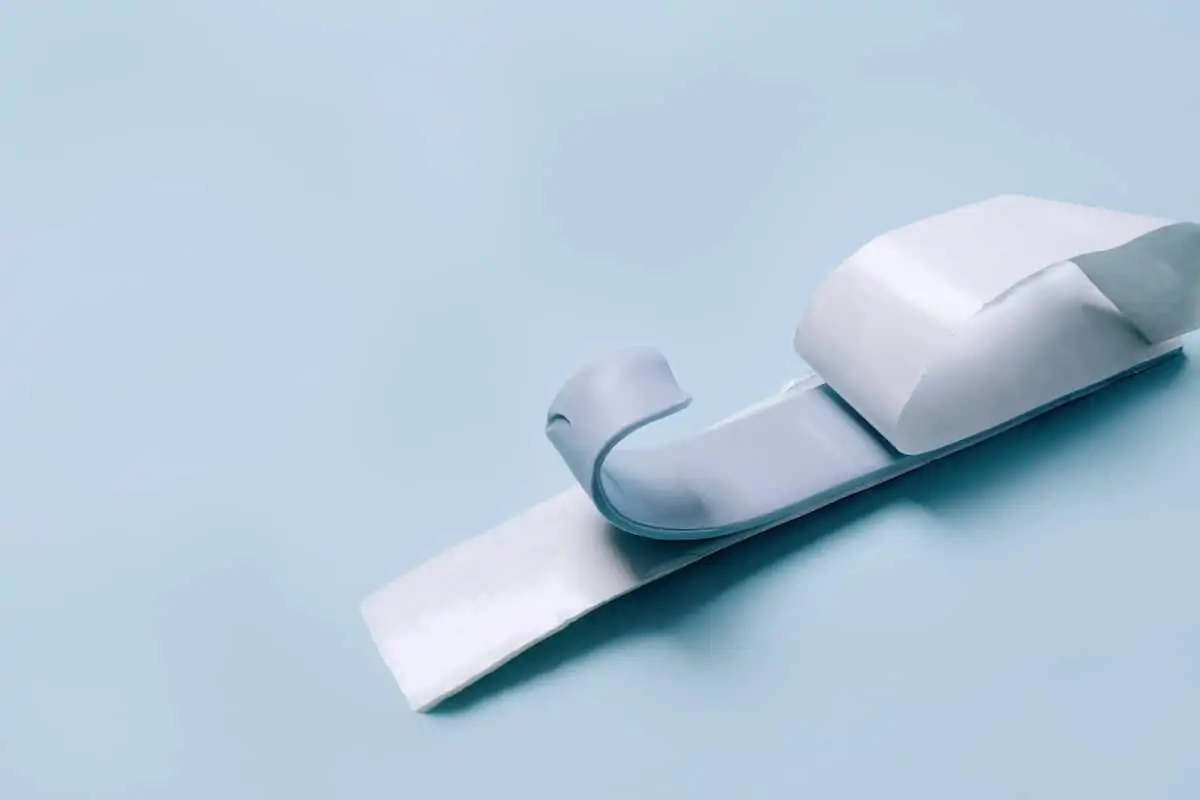

It’s impossible to not see the Command commercials showing off how easy it is to put up their hooks, and then take them down. No holes, no chipped paint, simple hanging. Whether using the adhesive strips alone or putting up a hook, this option is a no-frills way to get things up on your wall.
With quick and easy application, the variety of sizes for both strips and hooks can get almost anything hung. Then, when you’re done, you separate the strip from the wall and are ready to go. Follow the package directions for the best results, but remember to clean your wall first and let the adhesive strips sit for about an hour before adding any weight to them.
You may also need to use more than one — up to three— for larger frames to distribute the weight. Even with smaller pictures, make sure to check everything is straight with your level before sticking the art to the wall.
The pros and cons of using adhesive strips
Pros:
- Adhesive strips pull off the wall easily with no hole left behind
- They make it easy to hang unusually-shaped art
- They’re great for hanging lightweight pictures and those that have no hardware on the back
Cons:
- If removed incorrectly, adhesive strips can end up taking some of the wall’s paint with them
- They can also break apart during removal, making it much harder to get the entire strip off the wall
- Putting up heavier objects with these strips can lead to the adhesive letting go without warning
7. Hook and loop (Velcro) hanging
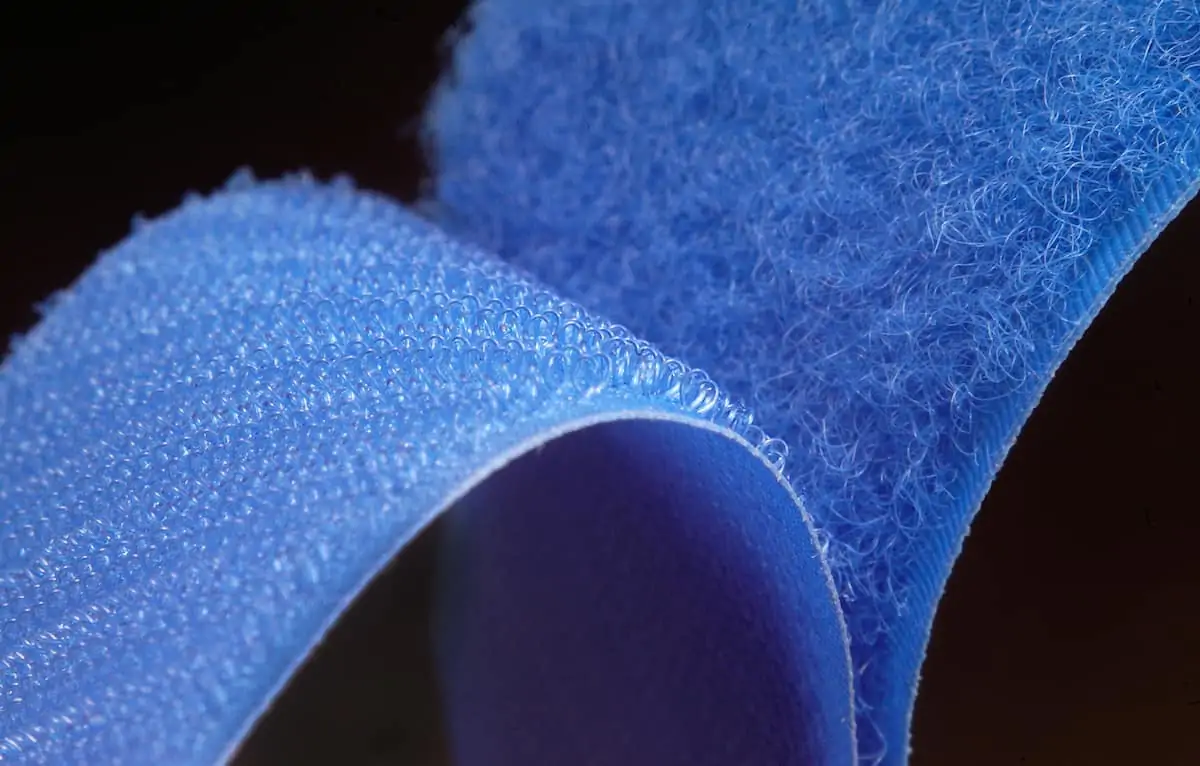

Also known to many as Velcro, hook and loop strips will have a scratchy side (the hook) and a soft, fuzzy side (the loop.) Combining the two creates a strong bond that holds tight until you’re ready to pull it apart. This stuff is for more than just keeping shoes on your feet. It works wonders when it comes to keeping small wall art in place.
While any strip of hook and loop can get a piece of art up, you can find picture hanging strips made in this material. These are easier to remove, like the adhesive strips, and can save you the trouble of getting the sticky side off the wall when it’s time to move.
To use, you want to wipe down your wall to ensure it’s clean first. Next, mark where you want your picture to hang using a level and pencil. Put enough strips on your frame to support it, and stick everything to the wall last. To line everything up, stick the wall half of your strips onto the strips stuck on the frame first.
Once everything looks aligned, peel the sticky side off the “wall” strips, and stick the entire piece to the wall. Hold in place for a few seconds before gently pulling away the frame. Apply a little extra pressure to the strips to secure them and let them sit for a bit before adding the picture back.
The pros and cons of using hook and loop
Pros:
- No holes in the wall
- Hook and loop gives you an easy and discreet way to hang wall art on drywall
- One package of strips can get a lot of pictures up, assuming they’re mostly lightweight
Cons:
- Without using hook and loop strips meant for picture hanging, you’re left with one side that’s very stuck to the wall
- Removing it can pull paint away, meaning you’ll need time for touch ups
8. Decorative tape
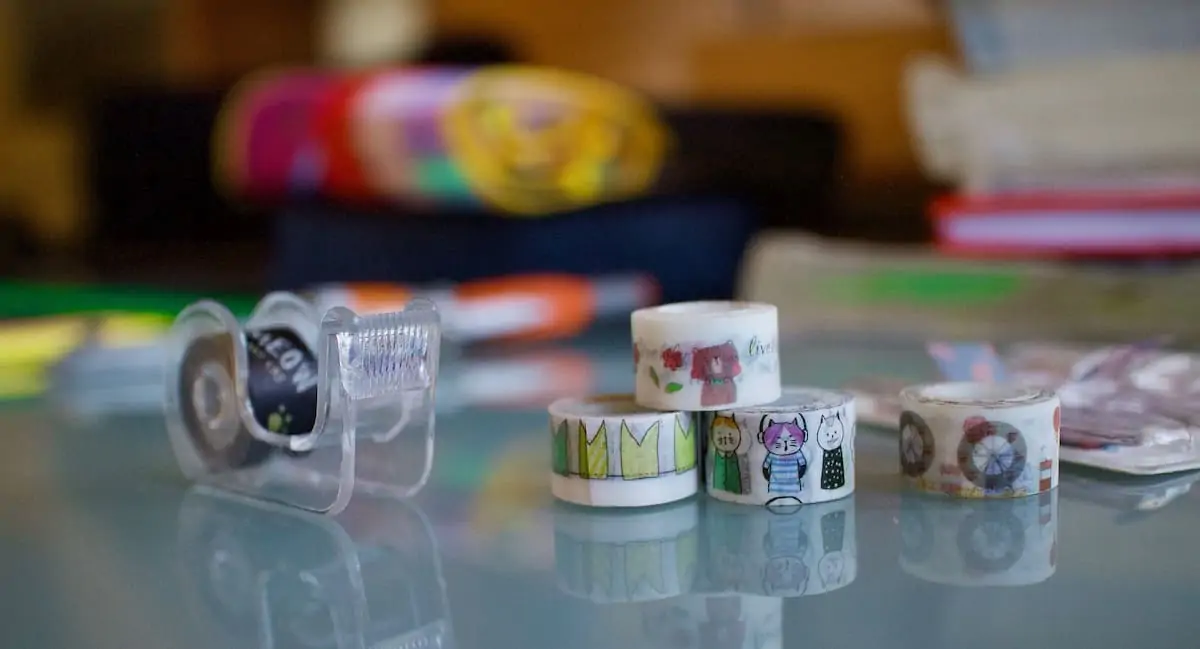

Most people don’t plan on using tape when it comes to hanging wall art, but the decorative stuff is making its way into home design. Washi tape comes in a variety of colors and designs. It’s a stylish alternative to the old, clear stuff. It lets you easily switch out pictures and makes it possible to hang things that aren’t already in frames. You can even use it as a decorative element on its own.
To hang things up with decorative tape, consider letting it become a part of your design. Stick it on the front of your pictures by either putting one long strip across the top, four small pieces at each corner or even framing the entire image.
The pros and cons of using decorative tape
Pros:
- Washi tape is gentle on painted walls
- You can incorporate it into your design when taping up pictures or use it discreetly behind each piece
Cons:
- This tape only works on very small and light items. You may even have to create a tape frame to keep something secure.
- Depending on how sticky the decorative tape really is, some paint may come off when you try to remove it
Preparing a picture for hanging
Once all the hardware gets selected, and you’ve begun laying out what’s going up on your wall, it’s time to check that each picture is ready to go. This means looking at the backs to see if they have something a hook will catch on, assuming you’re not driving a nail into your picture or using mounting strips of any kind.
If it’s missing something to catch onto the hook, you’ll have to add it. You can do this by attaching picture wire with the help of two small, metal loops that screw directly into your frame. Make sure to line them up and go across the middle of your picture lengthwise. Screw them in and cut the picture wire slightly longer than the frame itself. Thread each end of the wire through a loop and twist it into place to secure it.
You can also add what’s known as a sawtooth hanger to the back of a frame. These are self-adhesive and create a way for you to drape your picture over a nail or picture hook. They’ll usually have three different grooves to help you balance your frame.
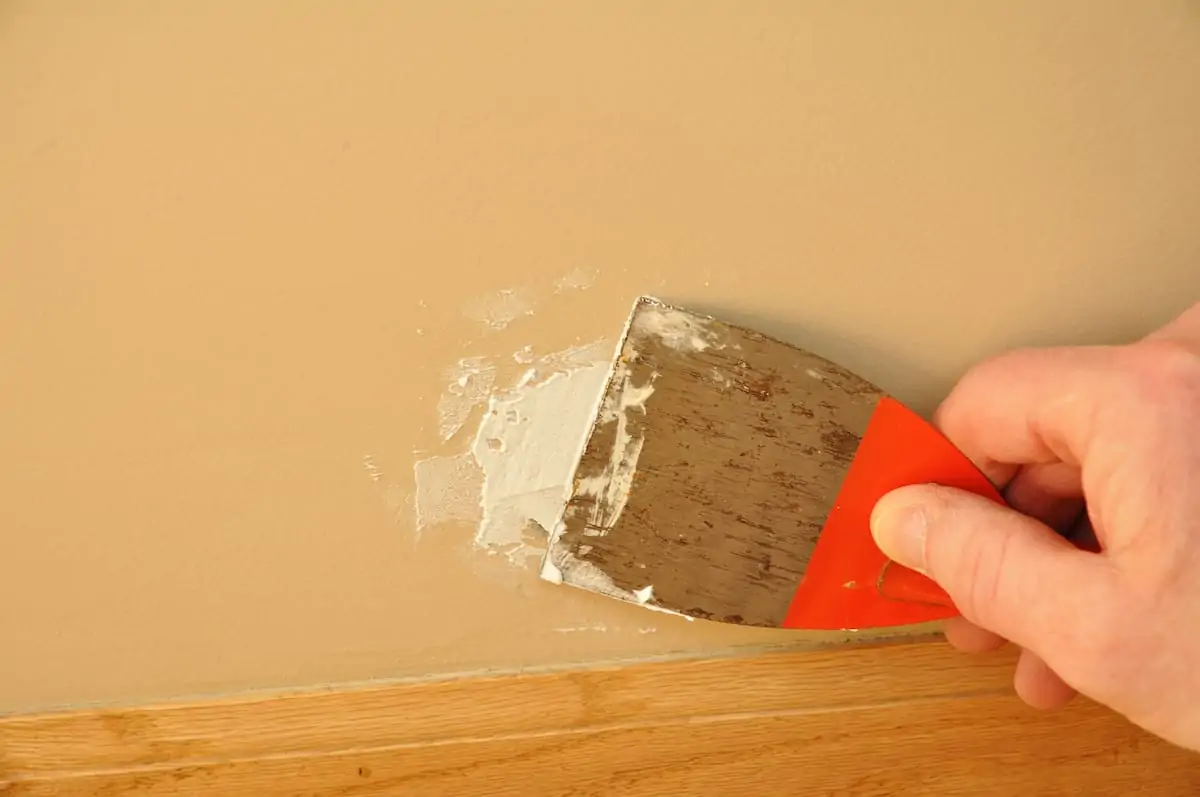

Repairing holes in your drywall
The enemy of all renters comes out once it’s time to take down the pictures you’ve worked so hard to put up — holes. If you hang up a bunch of pieces with nails, anchors or the hook combos in a picture hanging kit, you’ll have holes to fill. Assuming they’re all relatively small, here’s the best way to tackle holes in your drywall:
- Clear away any loose debris from the hole with a paper towel or cloth
- Fill the hole with fast-drying spackle using a plastic putty knife. Make sure to clear away any excess spackle to keep it as flush to the wall as possible.
- Let dry for around 24 hours
- Using fine sandpaper, smooth over the hole
- Apply touch-up paint if necessary
Once the process is complete, it should almost be impossible to see where the holes were on your wall unless you get up close.
Hanging pictures is a process with a payout
There’s a lot to know about hanging pictures on your wall and doing it well. Once you pick your hardware and prepare your preferred method for hanging, all that’s left is to arrange everything on your walls.
Take a tip from Martha Stewart and start with images at eye level. Beginning there can help you lay out the rest of the wall. Pull your assortment of images together, hash out a design by laying everything on the floor and then, with all your materials and tools beside you, start hanging.